Gladiator LMS 40T Bogie Brake Van
| Failed to open database: gaugegu1_gog2 | ret is false |
Originator: David Davenport
The Gladiator brake van kit makes up an imposing model for those of us that favour brake vans. The kit goes together well though, as you will see below, I have adapted it to vintage 3RE standards.
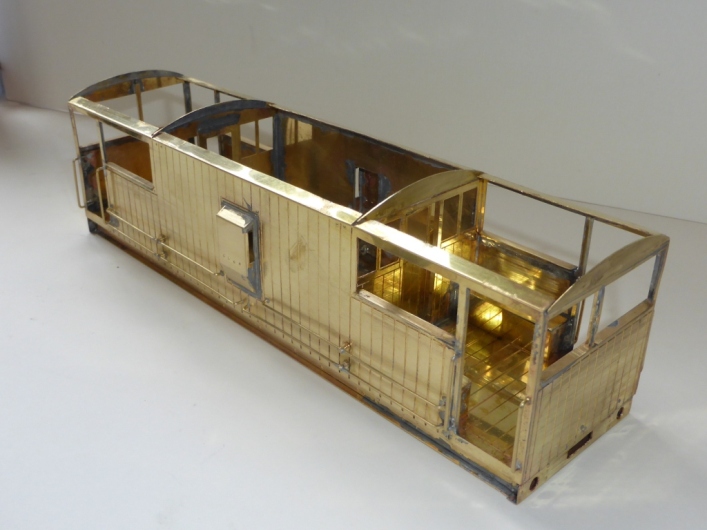
Basic body construction as per kit instructions. Buffer beam modified for vintage drop link coupling. In this picture you may also see new roof profiles added at the bulkheads as I thought the kit profiles looked too flat (although probably correct to scale). This may be why the kit roof became a little too tight at the edges and was replaced.
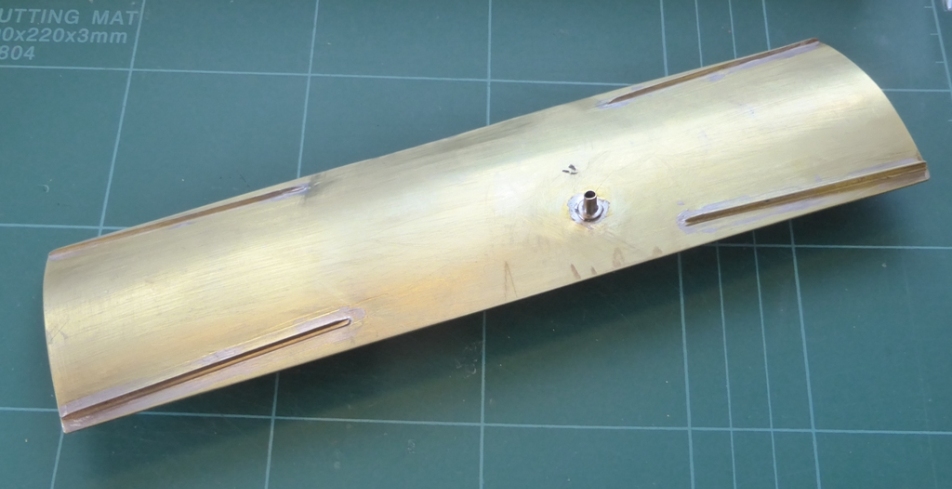
The original roof I found was on the limit of fitting the body so I rolled a larger one that allowed a drip rail to be fitted on the underside. This rail hides any roof to body gaps and adds thickness to the edge.
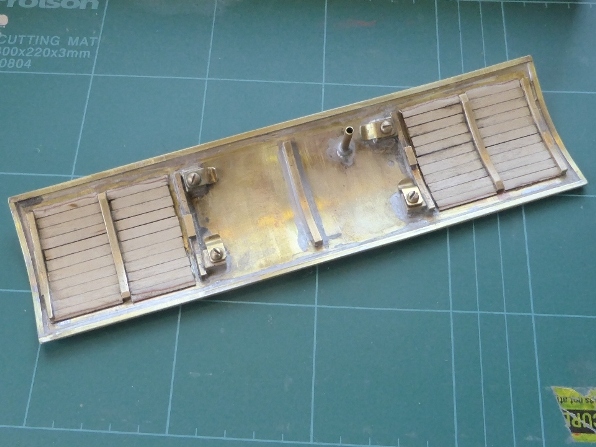
The roof is held in place by four clamps. Tapped brass blocks (from 13amp plug pins) are soldered in place and the clamps engage under the wall lip along the top. Solid brass sections bent to form trusses and some veranda roof planking added.
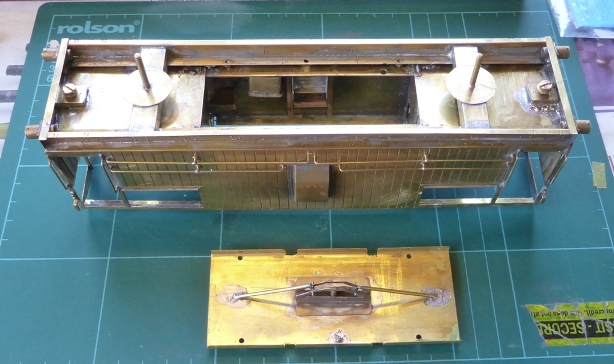
A removable floor gives access to roof clamps. Large swash plates for the bogies.
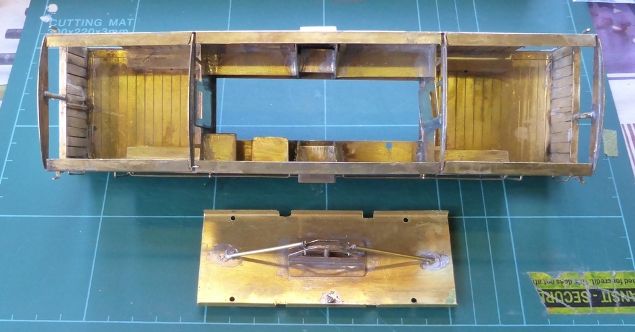
Nominal interior added
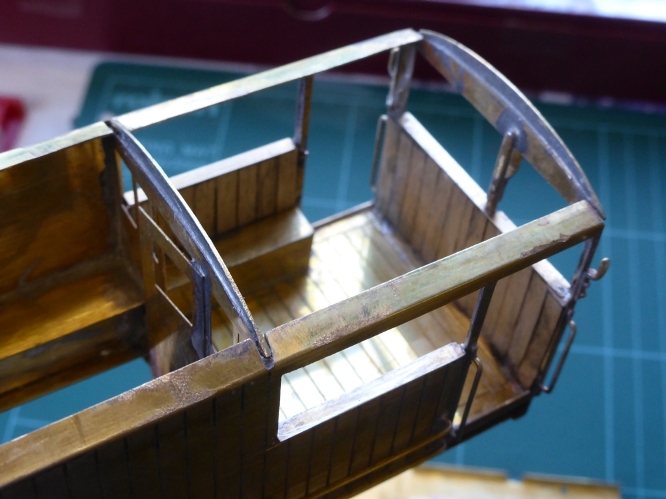
Some internal planking added.
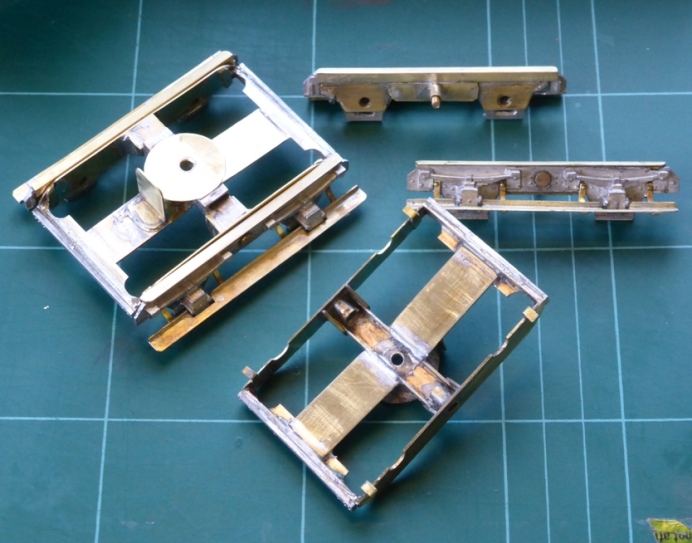
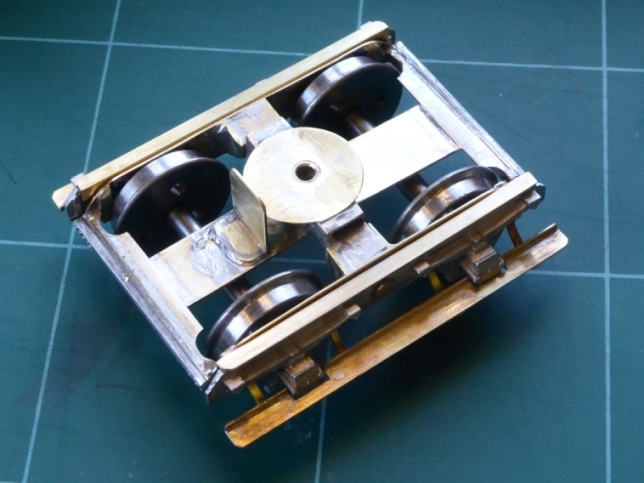
New compensating bogies were made to suit Walsall Ind coarse scale wheels.
The kit white metal castings were added to these.
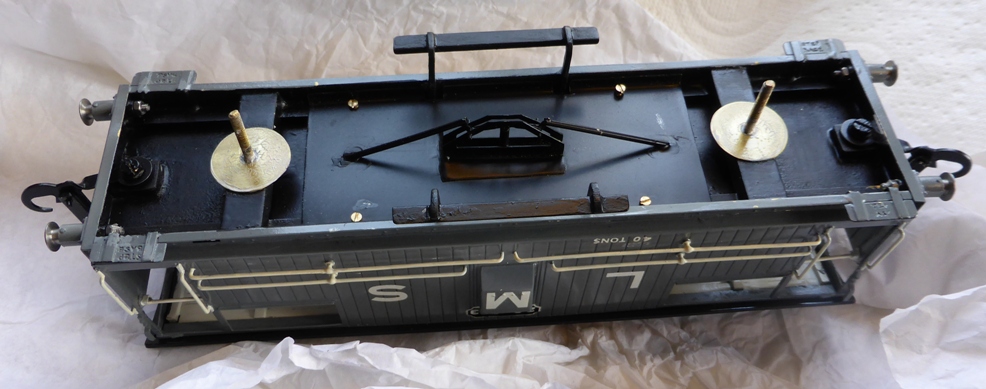
Running boards supports fitted using scale rivets soldered from the back.
The running boards had to be adapted to allow for the bogie swing on tight radius tracks.
Likewise, brake rodding is only nominal.
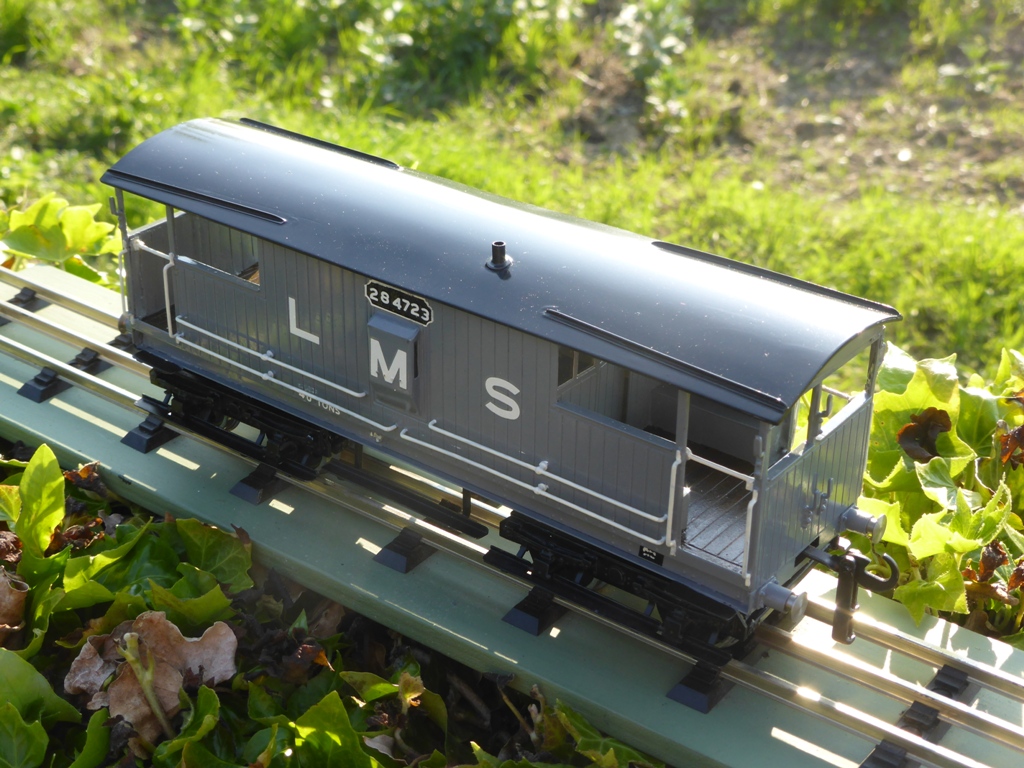
And finally an impressive LMS brake van. (Note small tails added to vertical handrails). The model runs well and is a talking point at shows being a hybrid of coarse and fine scale. The prototype was only produced as a run of three: spending their life on the Copley Hill to Armley line. So perhaps not for everyone's layout; though it could be an interesting visitor.
TimGiles11898 - Mar 26, 2017 at 11:40 AM
I am not familiar with the term 3RE, what does it stand for?
Davenport20954 - Mar 26, 2017 at 1:55 PM
I tend to use 2RE for scale electric O Gauge track and 3RE for vintage O Gauge railways where the centre rail provides the power via a pick up under the loco and earths back through all the wheels. In early days of tinplate it avoided the necessity to insulate wheels on locos and rolling stock etc. Vintage O Gauge Hornby, Lionel and Bassett Lowke are examples of this type of track where the centre rail is insulated from the others. A better scale section of steel rail was made by Hornby for its O Gauge Princess Elizabeth that required a 3ft radius to operate. Maldon Rail now supply this steel track; being nickel steel it survives outdoors quite well.
The other option for 3RE was the stud system whereby a long skate under the loco contacted individual studs in each sleeper. These being connected by a wire below the track. I guess this satisfied early vintage tinplate runners looking for a two rail track with a better scale appearance.
Another option was an outside third rail. An insulated wiper sticking out from the side of the loco picked up the power and, by having a third rail each side allowed individual control of two locos on one track. I hate to think what happened at point locations.
You often find Leeds locos fitted with such an arrangement.
Probably not the most elegant solution.
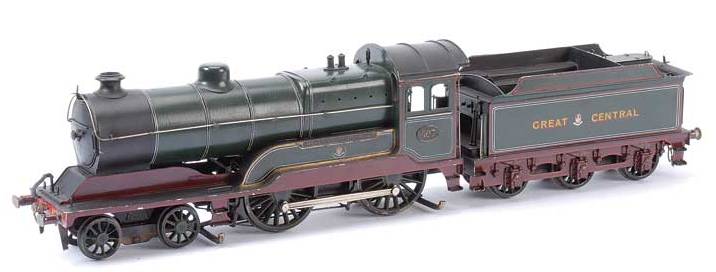
A Leeds loco with outside pick-up.
As models they are more refined than their tinplate forebears. (See Leeds Steadman Trust)
I hope this helps.


