Taff Vale Models Glasgow and South Western Railway Swivel Bar Wagon
Formerly marketed by Dragon Models
| Failed to open database: gaugegu1_gog2 | ret is false |
Reviewed by Peter Cross
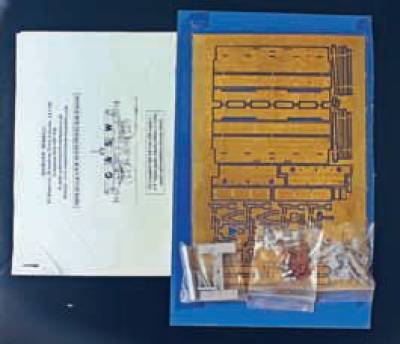
I have had this Majestic Models kit for some time in the to-do cupboard. It is now available from Dragon Models in their Celtic Connection range, ref. CC014. It comes flat packed on a piece of stiff card with the castings and sundries in poly bags. The castings are nicely produced, comprising brass ones for the horse hooks, and white metal for the buffer stocks and W-irons and axleboxes.
Also supplied was a length of chain and brass turned buffer heads, hopefully these will be fine when blackened. The etch itself looks neatly done. I would imagine that it was hand drawn rather than CAD, but as it has a 2000 date on it I could be wrong.
The instructions amount to four double sided A4 sheets with very little history. There is a useful numbered photocopy of the etch, a parts list, step by step account of how the parts go together, a nice 7mm drawing, and a few sketches to show various assemblies. All in all, not too bad. I added a set of Slaters open spoke wheels, and an internal form of rocking compensation. Picture 1 illustrates the parts included in the bag.
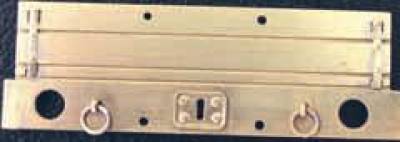
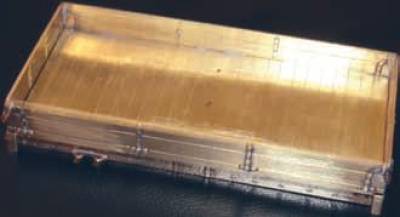
I followed the instructions. The sides, ends and sole bars are made up from laminates which go together very well. The etched detail was also added whilst in the flat. I left the white metal castings until later. Picture 2 shows an end in its finished state before the body is assembled. The roping eyes are supplied in the kit. Picture 3 shows the side and solebar assembly.
I found all the parts here fitted together very well, with little fettling required.
 Picture 4
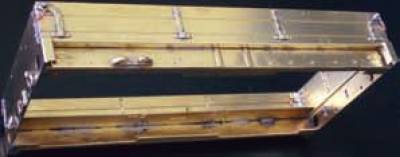
Picture 4 shows the basic body assembled. There was a little bit of fitting required to get the headstock in so that the ends could be soldered in place.
A brass floor comes with the kit although some builders may find it easier to make a Plastikard one. The three holes for the bolster needed marking out. There was a discrepancy as the instructions gave an 18mm measurement for the spacing but the sketches showed the correct 15mm one. The planks were marked and scribed next, I used a scraper for this (see picture 5)
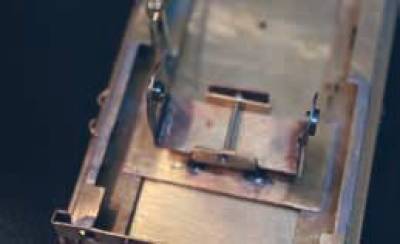
I now strayed from the instructions. Picture 6 shows that I used a piece of spare etch to make a stretcher and then fitted a rocking axle mount from the Gladiator range.
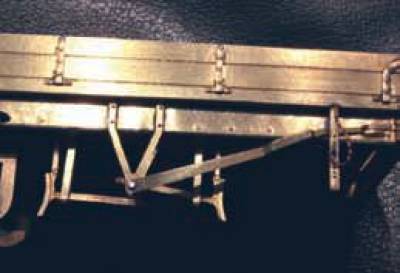
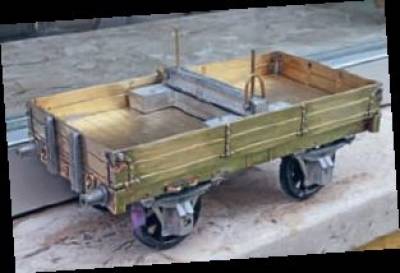
I went back to the instructions again to fit the brake gear. This required a little adjustment to get the height correct. A cast brass lever guard was in the kit but I added some holes to this together with a pin and chain (picture 7). I then soldered on the whitemetal fittings and added the wheels. Picture 8 shows the wagon prior to
painting. The bolster was not fitted until after painting. I fitted nickel silver wire stanchions rather than the copper ones the instructions suggested and less likely to be bent. You may spot that I got carried away with the drill but following a bit of filler, no one will ever notice my error. I finished the wagon in LMS grey and I hope it looks correct.
 Picture 7
 Picture 8
The kit went together very well. I would recommend it, perhaps not for a first etched kit build as there are quite a few overlays to do, but fine for someone who has already built one or two etched wagon kits.
This review was sent to Dragon Models for comment: Thank you for the chance to comment on Peter Cross’s review of this kit. I am impressed both with the model he has built and his ability to find a kit in the back of the proverbial cupboard after so long! I wish my skills were equal to his; in both areas. I took over the Scottish wagon range from Majestic in 2003 and have made several changes in the last 10 years. Principally the floor is now plastic with planked lines to reduce the weight a little, and the lashing rings are now preformed. Sadly I must shortly bow to the inevitable and increase the price at the end of this year, the first increase for three years, so the current price is likely to be short lived. Chris Basten (Former owner)
