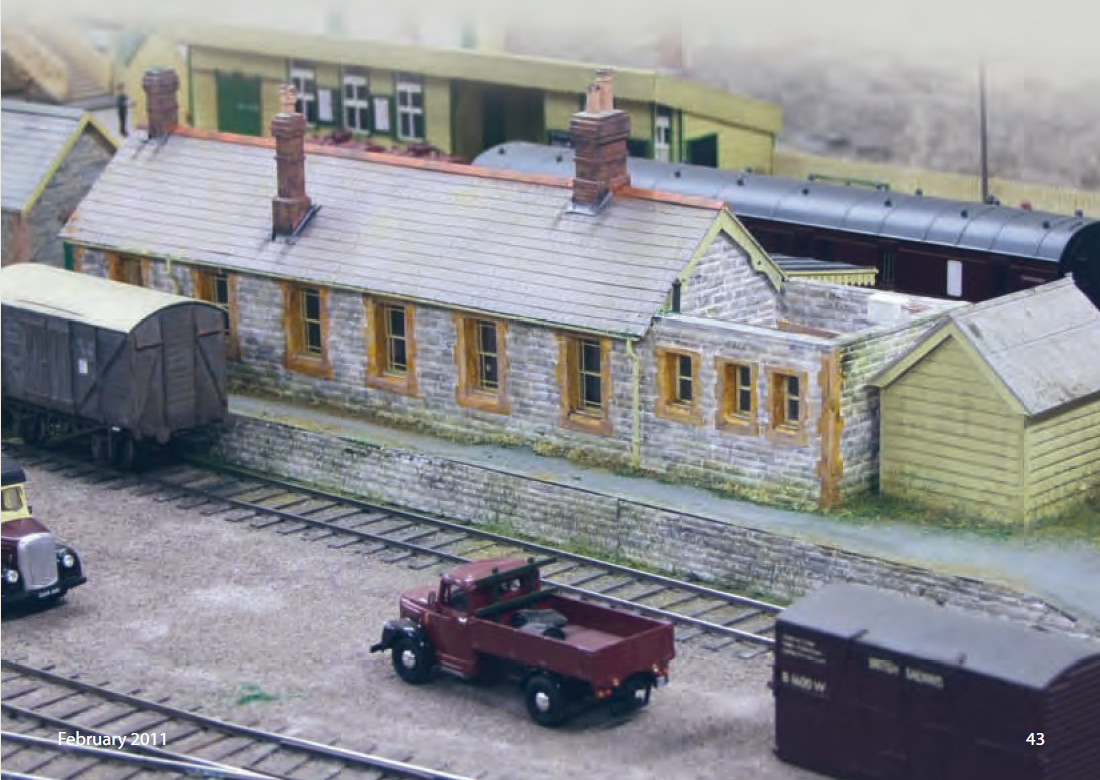
Slate roofs and a bit of Computer Aided Design
Bob Alderman
From gazette volume 18 Feb 2011
Some time ago I was shown a method of making slate roofs with coloured art paper. This involved drawing the slate sizes onto the paper. This is a somewhat time consuming, and it also proved to be an inaccurate way of doing it. Although I was trained as a draughtsman dividing a length into small components ends up with inevitable errors. In the case of tile making, these showed up as a phase shift in the slate positions when they were laid on the roof.
It occurred to me that I could use the printing accuracy of the computer to draw the slates. I do not have a Computer Aided Design (CAD) package on my PC, but like most I have a spreadsheet programme. I used this to create the slate pattern. It took a little experimenting to convert the quoted cell sizes to the scaled millimetres, but it did not actually take very long, just a few passes through the printer to check how they come out.
The cells have to be defined by the finest outline line available. This gives enough guidance for cutting them out, but they remain discreet if the cut line is not exactly on them. The on-screen illustration shows the result. This is sized to be the best fit to an A4 sheet; adding or subtracting cells from the bottom and side.
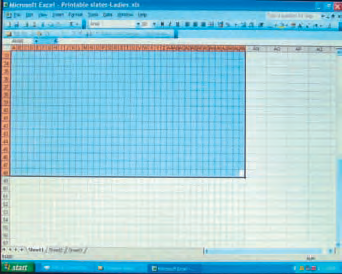 Once a satisfactory result has been obtained then the file can be saved for future use.
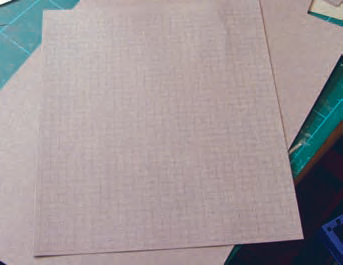

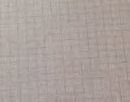
The illustrations show a whole printed sheet and a detail of part of a sheet. A slate is one cell wide and two cells deep. The sheet is then cut into strips. A new scalpel blade is recommended for this.
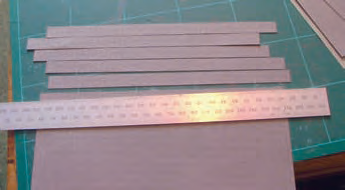 Further cuts are made in the strips to represent the gap between each slate. This cut should extend
just beyond the middle line in the strip
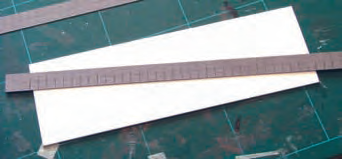 Once you have number of strips they can be stuck to the panel that will form the base layer of the
roof. In the illustration this is 0.040in Plastikard. I use one of the modelling pva adhesives to stick the
slates to the styrene. If the Plastikard is roughened with coarse wet and dry paper it provides a better
key for the adhesive. It does not bond the surface like normal Plastikard adhesive, but forms a
mechanical joint on the surface.
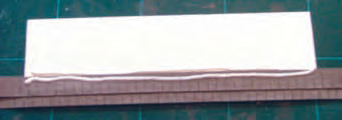 The first strip is stuck along the bottom edge of the foundation. More adhesive is applied on the strip
and on the foundation above it. Apply the next strip with joint in the slates halving the slate below.
Continue to the top. On a small roof the horizontal lines on the strips should give guidance for each
strip and they will remain parallel to the edge. It may be easier to be accurate by drawing a number
of parallel horizontal lines across the foundation as references. They do not need to have any
reference to the pitching of the slates. On a large roof these lines are essential.
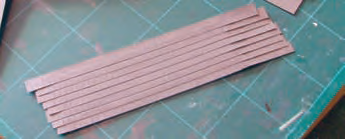 Once the roof panel is complete allow the adhesive to dry overnight. I often put it under the cutting
mat so that it remains flat. For a larger roof bonding a sheet of the same paper as the slates to the
inside surface of the Plastikard will stop it from curling. If in spite of this there is an element of curl
then dampen the slates with water and gently flatten the panel and replace it under the mat and
add some weight to force it flat.
 Once it is dry the slates can be trimmed to the end of the foundation panel
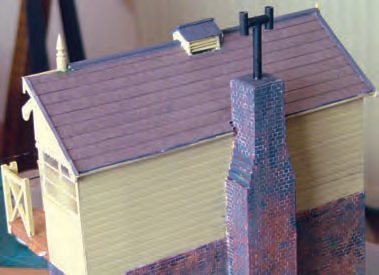 The finished roof in place on an as yet unfinished signal box
There are several types of ‘art’ paper available from artist’s suppliers. They are heavier than the copy paper typically used in the PC printer and one of the principle advantages is that they are coloured through the body of the paper. There are no white edges on cuts. There are various shades of grey, some have a texture on one side. If one of these is used then the texture side is the glue side. For some reason they are not a metric size so when cutting them into A4 sheets to pass through the printer there is some potential wastage. My printer will accept shorter paper and print as if it is a full sheet; no special setting, just put the odd piece in and print. This may not work for all printers so backing it with another sheet of normal paper should convince the printer that it is the usual sheet size.
TABLE OF SLATE SIZES
| Name | Size - Inches | 7mm scale |
|---|---|---|
| Princesses | 24 x 14 | 14 x 8.16 |
| Duchesses | 24 x 12 | 14 x 7 |
| Small Duchesses | 22 x 12 | 12.8 x 7 |
| Marchioness | 22 x 11 | 12.8 x 6.4 |
| Wide Countess | 20 x 12 | 11.6 x 7 |
| Countess | 20 x 10 | 11.6 x 5.8 |
| 20 x 9 | 11.6 x 5.25 | |
| 18 x 12 | 10.5 x 7 | |
| Wide Viscountess | 18 x 10 | 10.5 x 5.8 |
| Viscountesses | 18 x 9 | 10.5 x 5.25 |
| 16 x 12 | 9.3 x 7 | |
| Wide Ladies | 16 x 10 | 9.3 x 5.8 |
| Broad Ladies | 16 x 9 | 9.3 x 5.25 |
| Ladies | 16 x 8 | 9.3 x 4.6 |
| Headers | 14 x 10 | 8.1 x 5.8 |
| Small Ladies | 14 x 8 | 8.1 x 4.6 |
| Narrow Ladies | 14 x 7 | 8.1 x 4.1 |
| Small Headers | 13 x 10 | 7.6 x 5.8 |
| Doubles | 13 x 7 | 7.6 x 4.1 |
| 12 x 10 | 7 x 5.8 | |
| Wide Doubles | 12 x 8 | 7 x 4.6 |
| Small Doubles | 12 x 6 | 7 x 3.5 |
The names come from the Welsh quarries. They were apparently the only items in the quarries with female names .
